Prezi Training Video #2: Top Shortcuts
Prezi has many useful keyboard shortcuts to save you time when putting your presentation together. You can access the entire list of shortcuts at the bottom of this post, but for beginners, we recommend focusing on these top four because they streamline some of the most common tasks users face when building a Prezi.
Before using these shortcuts, double-check you have shortcuts enabled in the Prezi canvas configuration settings.
[et_bloom_locked optin_id=optin_1]
[/et_bloom_locked]
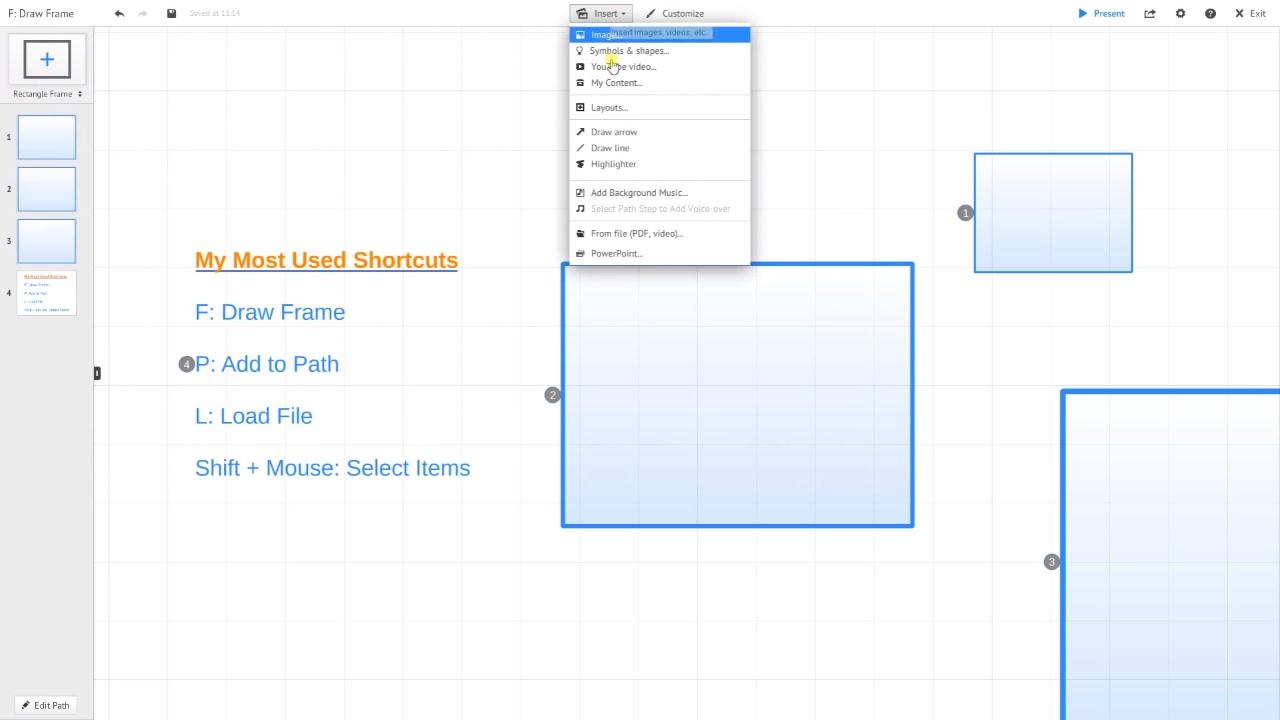
F: Pressing F will allow you to draw frames, one of the most fundamental elements of Prezi. The cursor will change and allow you to draw frames around the objects you want to use in our Prezi. Make sure your ratios are set before you draw your frames. You can make your frames any size, but by setting the ratio, they will all appear correctly on the screen you present on.
P: Pressing P will allow you to add items to a path. Path editing mode will appear and you will be able to add items to a path in any order you choose.
L: Pressing the letter L will allow you to load a file to your Prezi. First, make sure text dialogue is not open. By pressing the letter L, you will be able to add files such as logos or other images you want to include in your Prezi.
Shift + Mouse: This is an important shortcut that allows you to select multiple items at once, something you will probably be doing a lot of. You can group them together in order to resize them or move them. This allows you to do it all at once instead of having to select each item individually, saving you precious time.
Using these Prezi shortcuts will make you more productive so you can spend less time on setup and more time on WOW-ing your audience!
Good luck and happy Prezi-ing!
TO VIEW ADDITIONAL PREZI TRAINING VIDEOS, CLICK HERE!